
Note – if you don’t have a Jobber CRM trial set up, get one here!
This blog post will get you through the basics of your Company Portal setup by showing you the Jobber new invoice screen. You can get paid faster by invoicing online in Jobber CRM! We’ll look at more features in upcoming segments.
The Jobber CRM welcome screen
![]()
When you start your Jobber CRM demo account, you’ll see a list of things to do, along with some (highly optimistic) time estimates.
We’re focusing on item three in the Jobber CRM checklist: Get paid with fast invoicing
When you click into this, you’ll see a screen that looks something like this:
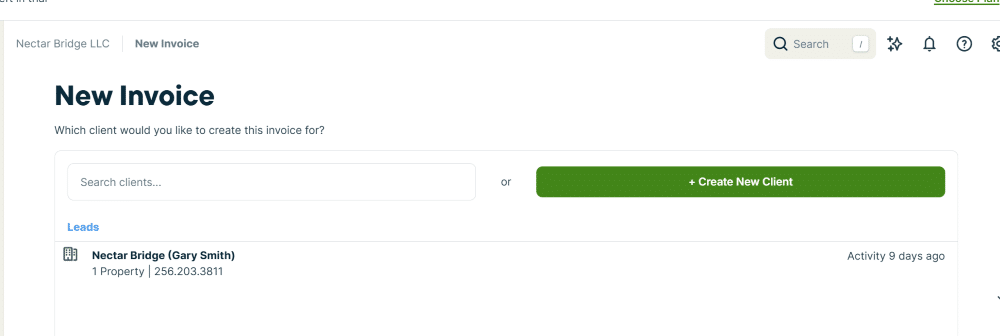
Have you imported customers or started using the scheduling features of Jobber CRM? If not, we may be a little ahead of ourselves. But you can step through the invoice creation dialogue and see what an invoice looks like. If you have an invoice to send a customer for jobs you’ve created manually, you can do that here as well. You can also simply go to the left column in the Jobber CRM at any time, click on “create,” and then “invoice,” and it will take you to the same place.
If you have any imported customers already in the list, use the “search clients” field to find the one you want to invoice.
If the customer isn’t on the list, click on the green button labeled + Create New Client.
The Jobber CRM Create New Client screen
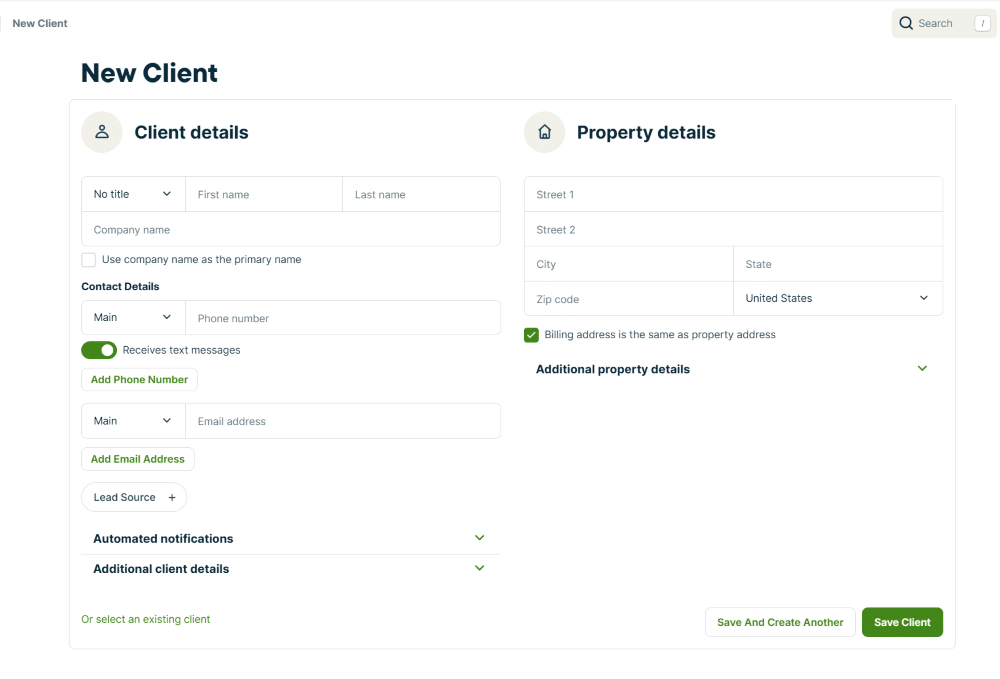
You can put in as much information or as little as you like. If you don’t know something you can always edit the customer later. It’s a good idea to gather as much information as you can about a customer before performing service work so that you have information to serve the customer (and collect the invoice)!
The Jobber CRM Create New Invoice screen
When you click on “create new invoice” in Jobber CRM, you will see a screen like this (click on thumbnail to enlarge):
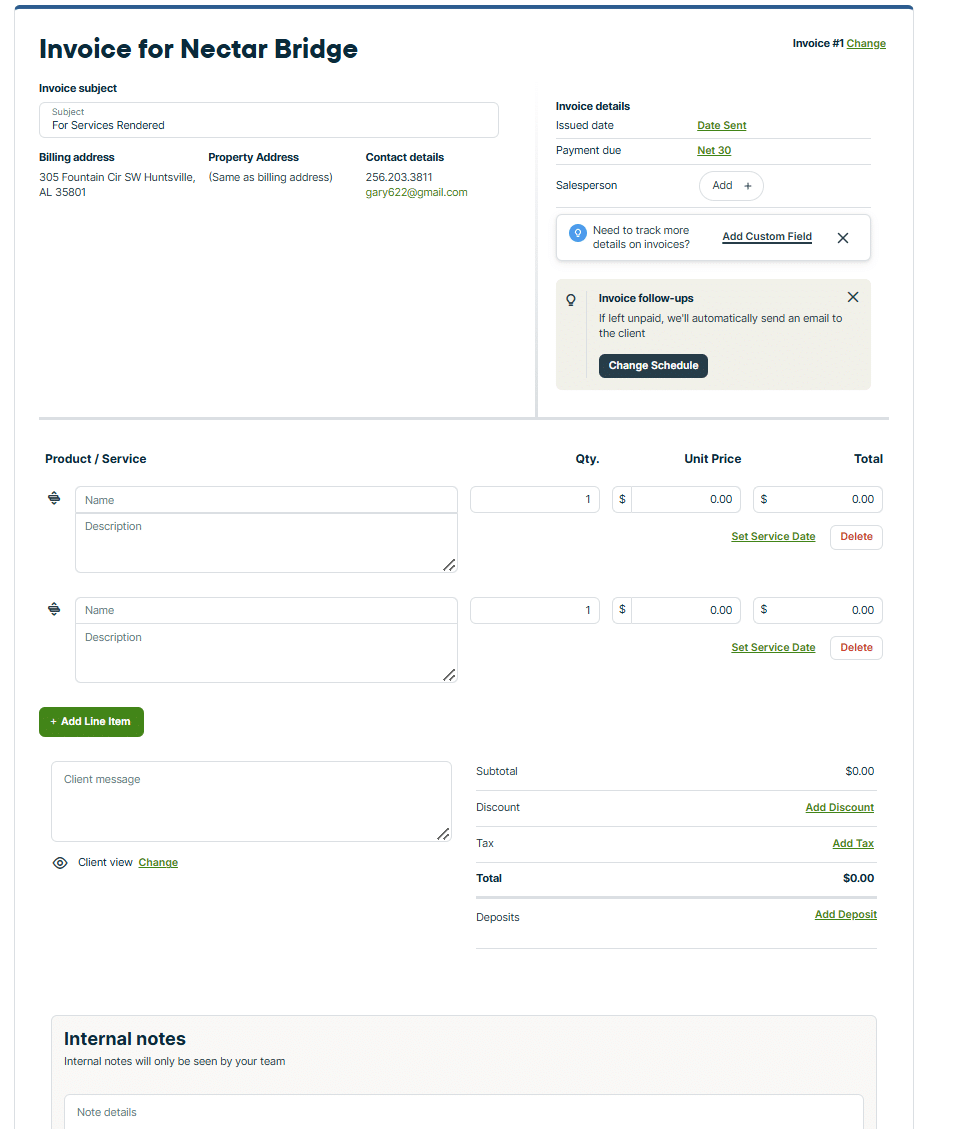
Here is where you’ll enter labor and items that you have sold to the customer. You can also add items (including labor types, such as service calls or hourly rates) to a pre-populated list so that items can be rapidly added to future invoices.
You can add internal notes at the bottom to keep track of information you may have collected about the job.
Once you have the items you want to bill the customer for, you can either save the invoice or save and send it. The customer will receive an email. For them to pay the invoice from this email, you’ll need to have set up the payment options.
We’ll need to do more to make full use of the Jobber CRM invoice function
So far, we need to go into in more depth on two more things after we complete our tour of the initial setup of Jobber CRM:
- Setting up the labor and parts items as mentioned above.
- Setting up the payment options for Jobber CRM.
To do all this right takes more than two minutes! Contact us if you have any questions or if we can help you choose and implement home services management software like Jobber CRM.